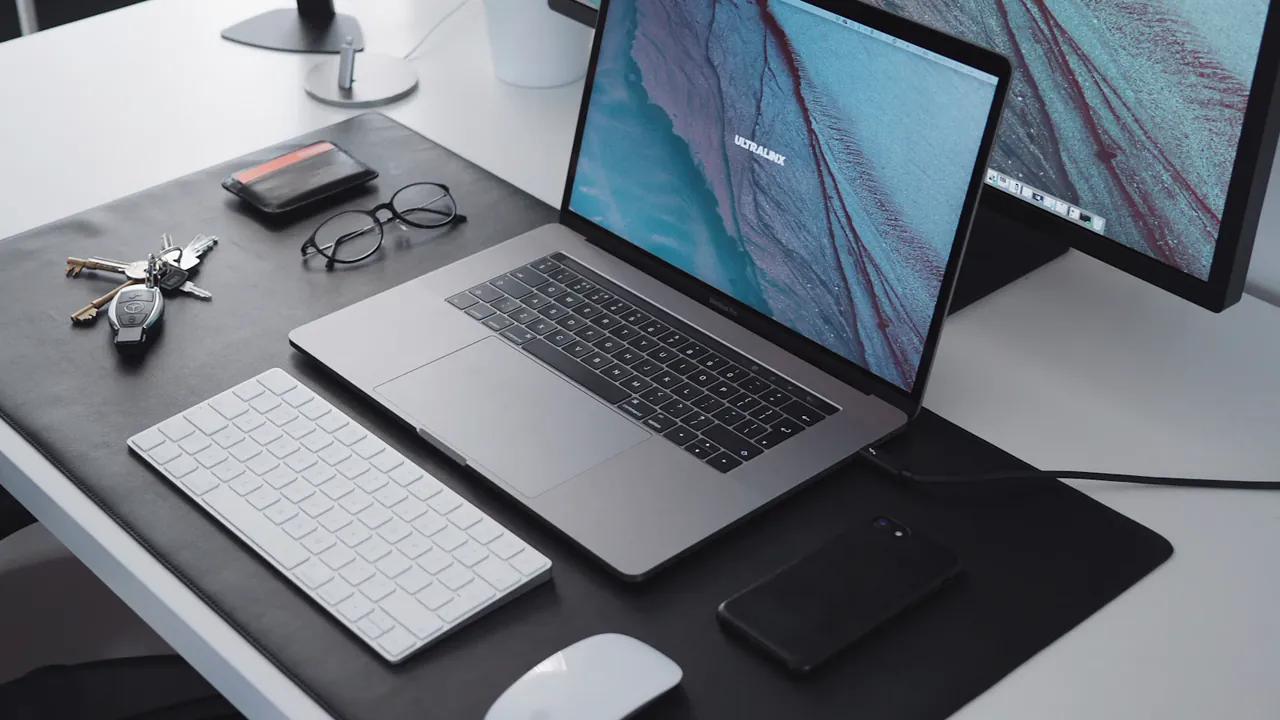
Every few years the time comes to change the personal or work laptop, and the thankless task of setting up all your apps and settings comes back to haunt you. At least, this is my usual experience.
In order to cope with this process without losing my sanity, this time I've decided to document all the relevant steps and list them out for posterity in a blog post (mostly future-me). This is when I realized that there are tons of steps in setting up a new machine, and that the two hours I had allocated to this were not nearly sufficient.
First things first - Terminal
Probably the first thing I do as soon as the laptop is responsive is opening the Terminal and installing Homebrew. Homebrew is a package manager for MacOS that lets you install and maintain all kinds of software (ranging all the way from simple scripts to Applications).
Since I like to be on the cutting edge, I also run the brew tap homebrew/cask-versions command to be able to install alpha and beta versions of the apps.
The second thing I do is replacing the default terminal with iTerm2, the universally acclaimed terminal for Mac. This is as simple as running brew install iterm2-beta.
By the time iTerm is installed and opened, my eyes are pretty much begging me to do the following:
- go to Settings > Appearance > General > Theme and set
Minimal; - go to Profile > Colors > Color Presets and choose
Solarized, which offers light and dark themes using complementary colors.
Once the visual situation is fixed, I run the following curl command to install Oh-my-zsh:
sh -c "$(curl -fsSL https://raw.githubusercontent.com/ohmyzsh/ohmyzsh/master/tools/install.sh)"
This is a great plugin engine that will allow us to style and make using the Z shell (standard in MacOS) much more efficient. Moreover, it will allow us to install the amazing Powerlevel10k theme by running the following:
git clone --depth=1 https://github.com/romkatv/powerlevel10k.git ${ZSH_CUSTOM:-$HOME/.oh-my-zsh/custom}/themes/powerlevel10k
echo 'ZSH_THEME="powerlevel10k" >> ~/.zshrc'
source ~/.zshrc
This will trigger a prompt that will guide us through the customization of powerlevel10k.
VIM editor
Once that is done, I like to set up the VIM editor (also comes standard on MacOS). In particular, I like to make the following changes:
- remap the sequence
jkto the<ESC>key, to quickly close INSERT mode →inoremap jk <ESC>; - enable syntax highlighting →
syntax on; - setting relative numbers with
set numberandset relativenumber, which helps tremendously in NORMAL and VISUAL modes; - setting the leader key to
let mapleader=','and the default register to the system clipboardset clipboard=unnamedplus - finally, I like to install the following plugins:
- VimSurround to make quick work of ([{parentheses}]), "double-quotes", 'single-quotes' and even HTML
<tags> - EasyMotion to move around the document with the fewest presses possible;
- CamelCaseMotion to move around camelCase, PascalCase or snake_case words with ease;
- VimSurround to make quick work of ([{parentheses}]), "double-quotes", 'single-quotes' and even HTML
VSCode and Sublime Text
As you might imagine, as a VIM user, I want all my text editors to follow the same paradigm. Fortunately, two of my favorite pieces of software, VisualStudioCode and SublimeText support VIM through the use of plugins, VSCodeVim and (Neo)Vintageous respectively.
VSCode gets extra points for allowing me to migrate my whole configuration through my Github login, whereas SublimeText is admittedly a bit of a pain to configure → my favorite settings: "theme": "Adaptive.sublime-theme" (with the Solarized Color Scheme) and "color_scheme": "auto".
Mac OS settings
Next, I usually focus on the OS settings. There are really a ton, so these are just the ones I feel strongly about, in no particular order:
- Desktop & Dock > automatically hide. Moreover, there's a handy script to avoid the pesky delay in unhiding the Dock:
defaults write com.apple.dock autohide-delay -float 0; killall Dock. - Appearance > Auto → using a dark theme during the day, if you don't have an OLED screen, means you're killing the battery for no good reason, as you'll need to keep a higher brightness. Do yourself a favor and only use dark mode at night or in dimly lit environments.
- Accessibility > Siri > Type to Siri → I can't think of a scenario where I would be able to say something faster and more reliably than I could type it. No brainer.
- Keyboard > Shortcuts > Function Keys > Use F1, F2, etc. keys as standard function keys → I need those 12 keys for something useful!
- Trackpad > Tap to Click. I'm a tapper and a clicker, I think both can coexist and be helpful.
Awesome utilities
Let's now talk about some of the software I couldn't live without.
First on that list would be Alfred, which is a staple for many Mac users who want the most out of Spotlight. As I run brew install alfred, I always run to Keyboard > Shortcuts > Spotlight and disable the command + spacebar shortcut so that I can assign it to Alfred.
Next, a jack-of-all-trades utility App that I've been using for over a decade to add useful shortcuts and functionality to my Mac (and was sorely missing when using Windows): BetterTouchTool. This transforms all the peripherals of the Mac into a sea of possibilities, by giving you the option to bind any gesture you can think of, to any action you can think of. Moreover, it offers the option to snap windows to the corners of the screen, or to custom areas, bringing over some key window management functionality.
Some honorable mentions go to the following apps:
- Dropover makes drag&drop much easier by creating a temporary shelf where you can park your files.
- Amphetamine great whenever you don't want your machine to sleep. Supports an incredibly rich array of advanced features.
- Vimari VIM, for Safari, what more can I say? (not to be confused with Vimium, the Chrome-based evil cousin)
- Syntax Highlight a great extension for QuickLook that supercharges its functionality when dealing with source code. Even supports a Solarized theme!
Menu bar!
On to the Menu bar. This is a great place to store information that should be available at a glance, but it can get bloated and disorganized pretty quickly. This is why I use Bartender (free alternative Dozer). This one is pretty self-explanatory.
Another great tool is Dato which shows a small, always-on, calendar with all the upcoming events (Itsycal, free, does pretty much the same, but I'm more partial to Dato's design).
Finally, iStatMenus is a great, highly customizable option to keep an eye on CPU, Memory and Network (and more) at all times. Useful to spot a pesky process that consumes too many resources.
Applications
To conclude this not-so-short article, here are a few apps that I really like, and that I would gladly suggest:
- Things → I love this task management product. Its UX and UI are great, their team is always quick to implement the latest OS features and to come up with great ideas to make keeping track of tasks less mundane.
- Spark, best email client out there, bar none. Feature rich, they really nailed the user experience, makes using Outlook for work really painful.
- 1Password, simply the best password manager on the market, with a great UX and UI and always updated with cutting-edge features (Bitwarden is a great free/cheaper alternative).
That's it from my side, my laptop is ready for use and I hope this could be helpful to some of you readers as well!